
Portfolio
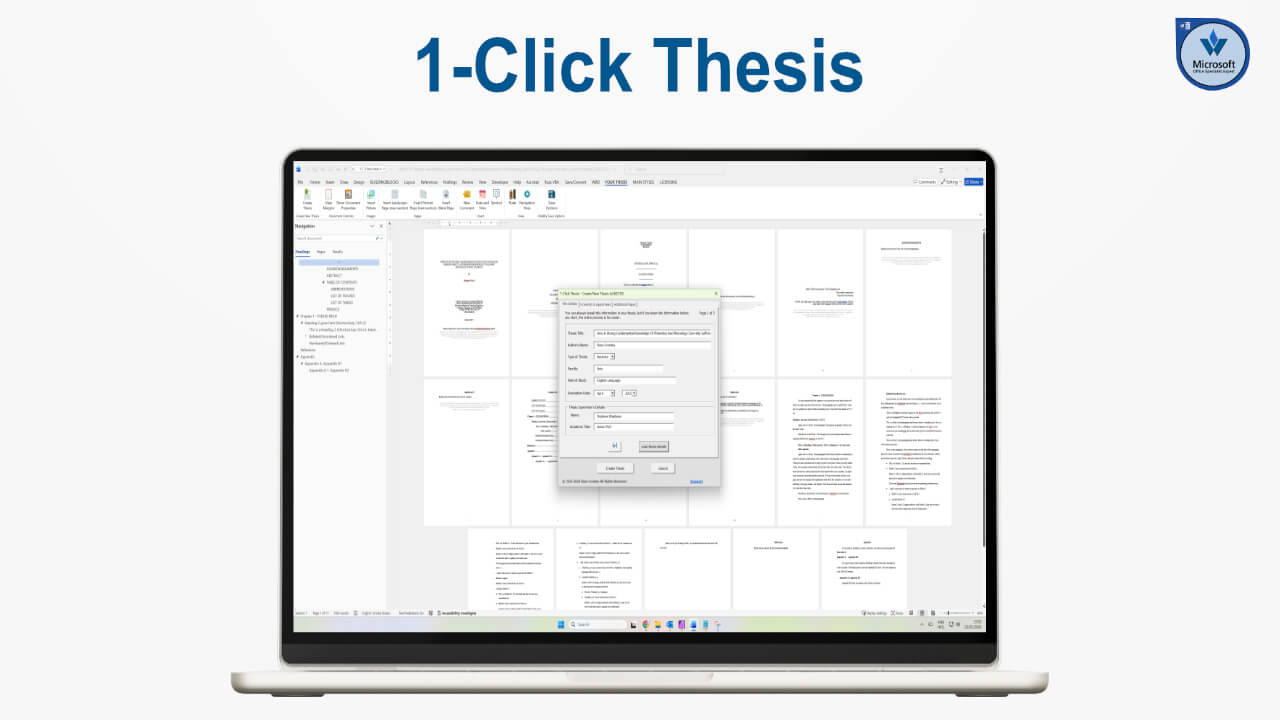
This video shows the first Word application I created, called One Click Book Creation.
I built this primarily to support self-publishing on CreateSpace and Amazon.
This was in 2015, when self-publishing was still developing.
Having already self-published one of our Thai books on CreateSpace and Kindle, I saw how poor the official templates were. Take it from me, they weren’t designed well, they weren’t easy to use, and they created unnecessary formatting problems.
CreateSpace was retired in 2018
CreateSpace has since been retired and everything now sits under Amazon KDP. However, if you download Amazon’s templates today, they are still essentially the old CreateSpace templates.
Given CreateSpace was retired in 2018, so those templates are at least eight or nine years old, likely older, and they still contain the same structural issues. That was one of the primary reasons I created One Click Book Creation.
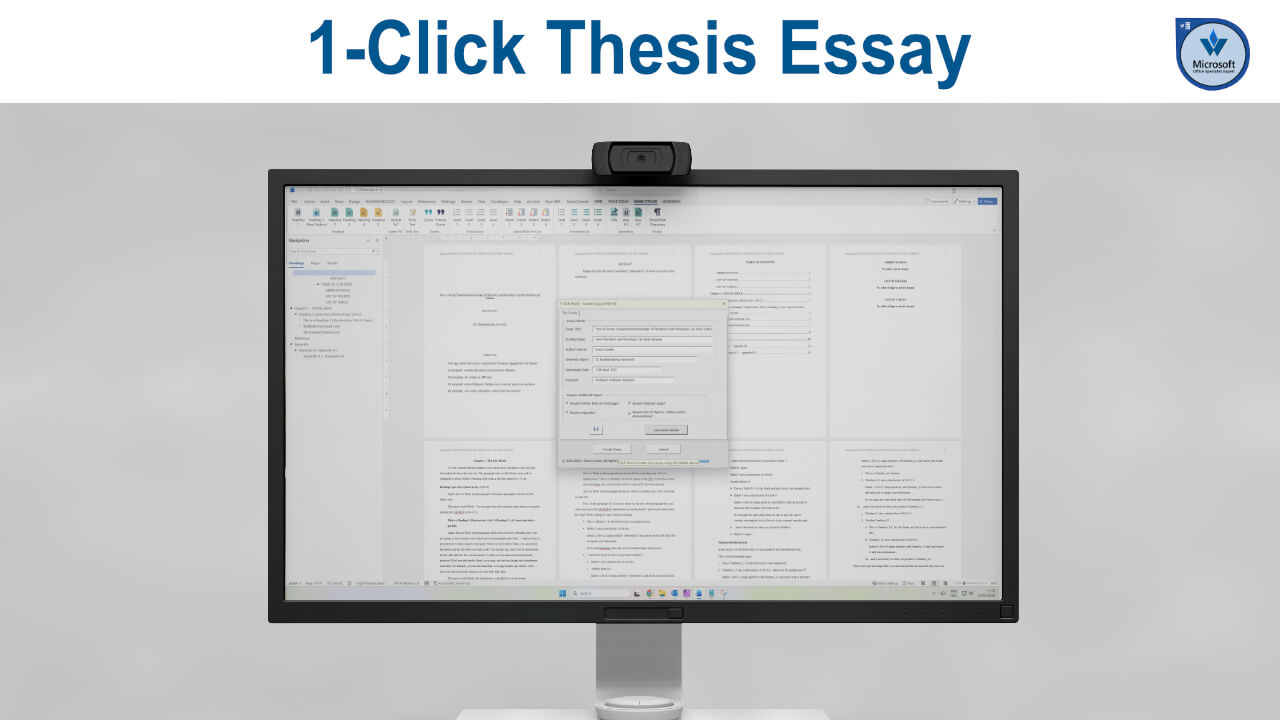
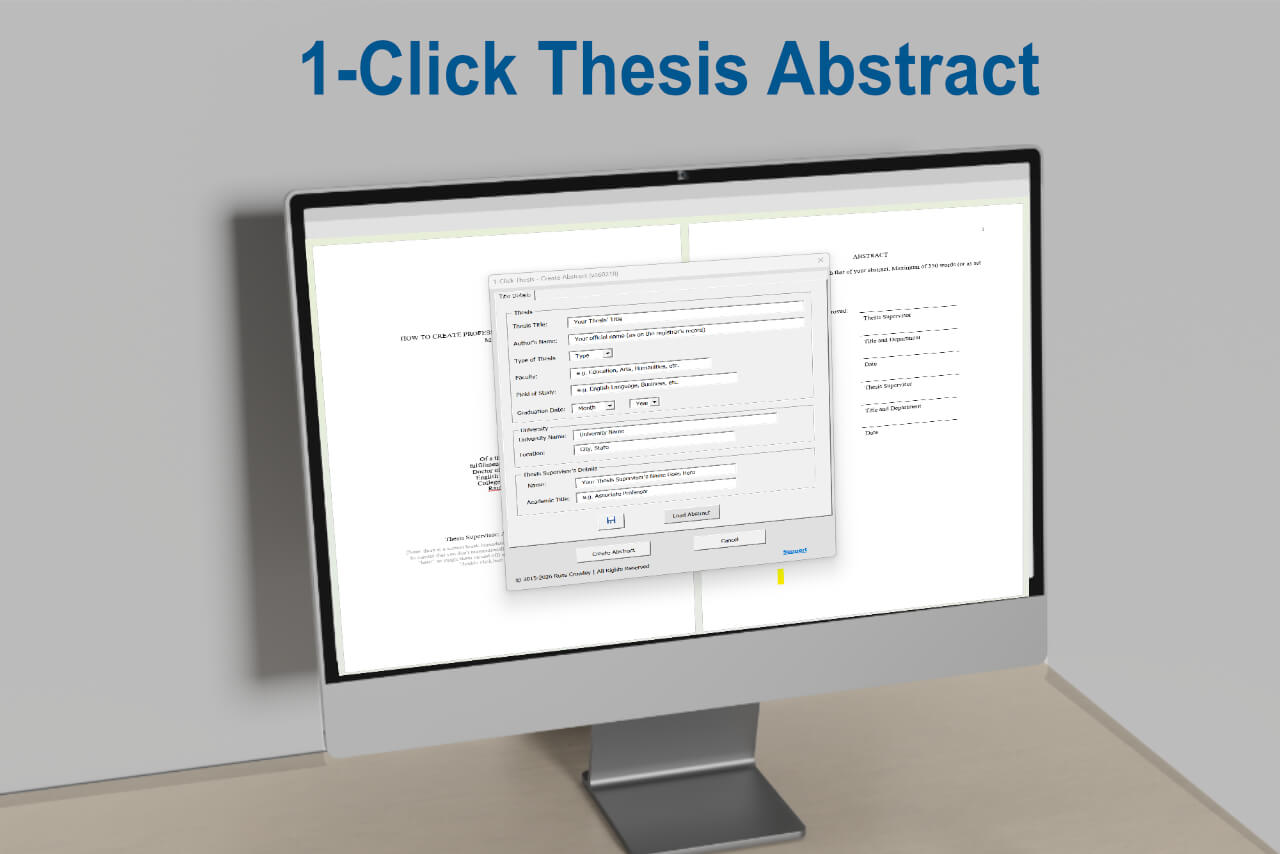
Adding Form Details
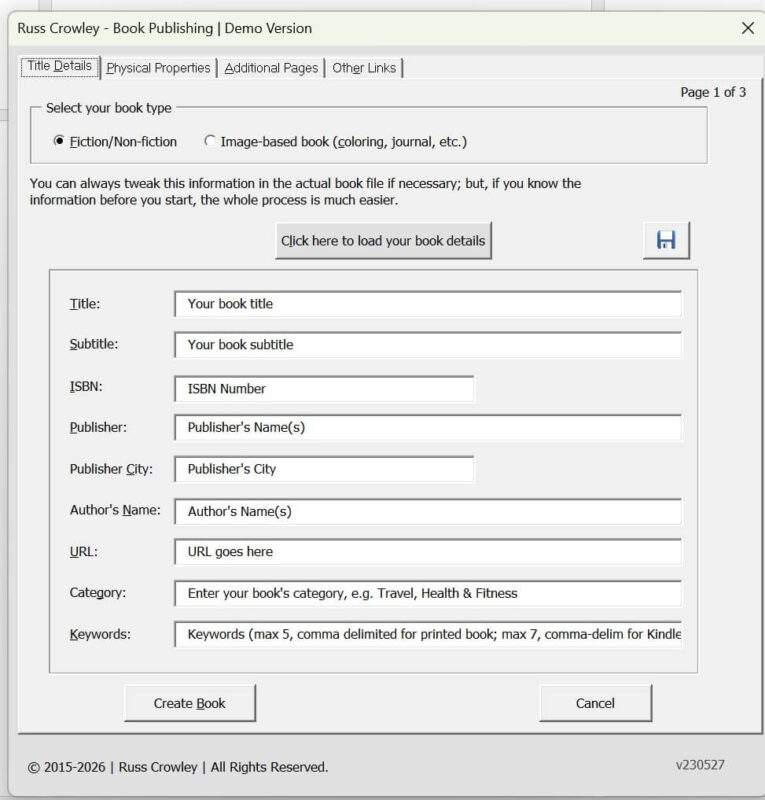
When you open the template, you’re presented with a form where you enter your title details and the physical properties of the book. These include the main trim sizes used for self-publishing print books.
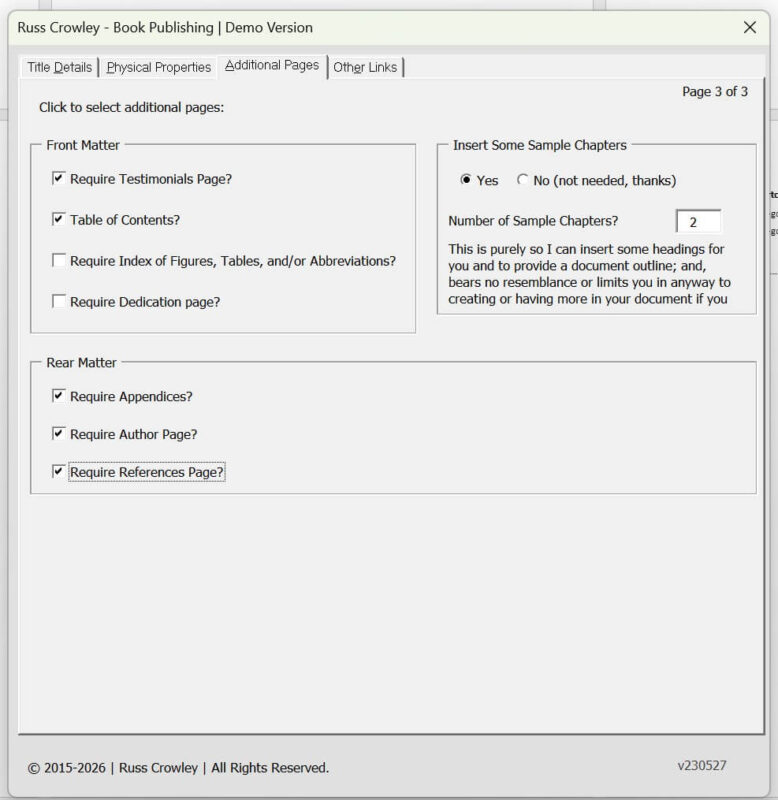
There is also a section for additional pages. Some books require testimonials. All require a table of contents. You’ll also see other options and links for related courses and resources.
Low-content Book Addition
Initially, the application supported fiction and non-fiction books only. Later, when low-content books such as journals and colouring books became popular, I adapted it to support image-based books.
The key difference is trim size. Image-based or low-content books are usually larger because they’re intended for colouring or writing. Fiction and non-fiction books allow a full range of trim size selections. Image-based books have a reduced set of options. You also enter an approximate page count, which affects binding calculations, and specify an images folder. The application automatically inserts the images into the document, which simplifies the process.

For a fiction or non-fiction book, you begin by entering the title, subtitle, and related details. You can save this information and reload it later if needed.
For example, I can load a previous project. This file is for How to Publish Your Book on CreateSpace and Kindle: Easy Publishing with Word 2000, 2010 and 2013, which I wrote to accompany the application itself. The book was published in 2014.
Although CreateSpace no longer exists, the formatting principles remain largely the same.
Word’s core document structure has not changed significantly in decades.
New features have been added, particularly around internet and multimedia functionality, but the fundamentals of layout and styling remain consistent. The content of the book is still technically valid, even if the platform name is outdated.
After loading the details, you select the trim size and approximate page count. The page count influences binding width, margins, and gutter size. If you intend to use full-page images, you enable bleed.
Additional Pages
You then select the additional pages required. The application generates the structural framework of the book so you can begin writing. You can also choose to insert sample chapters for guidance.
Before generating the document, you review the information.
Once confirmed, you click “Create Book.”
The application then builds the structure in the background.
Note: It does not write the book itself. What it does is insert placeholder chapters if selected and it then applies the predefined styles.
Once done, the file is then saved with the current date, the form closes, and you’re left with a fully structured template ready for writing.
If we look at the setup information, you can see the trim size. For example, an 8 x 10 book with bleed becomes 8.25 x 10.25. The margins, gutter size, and related settings are all defined.
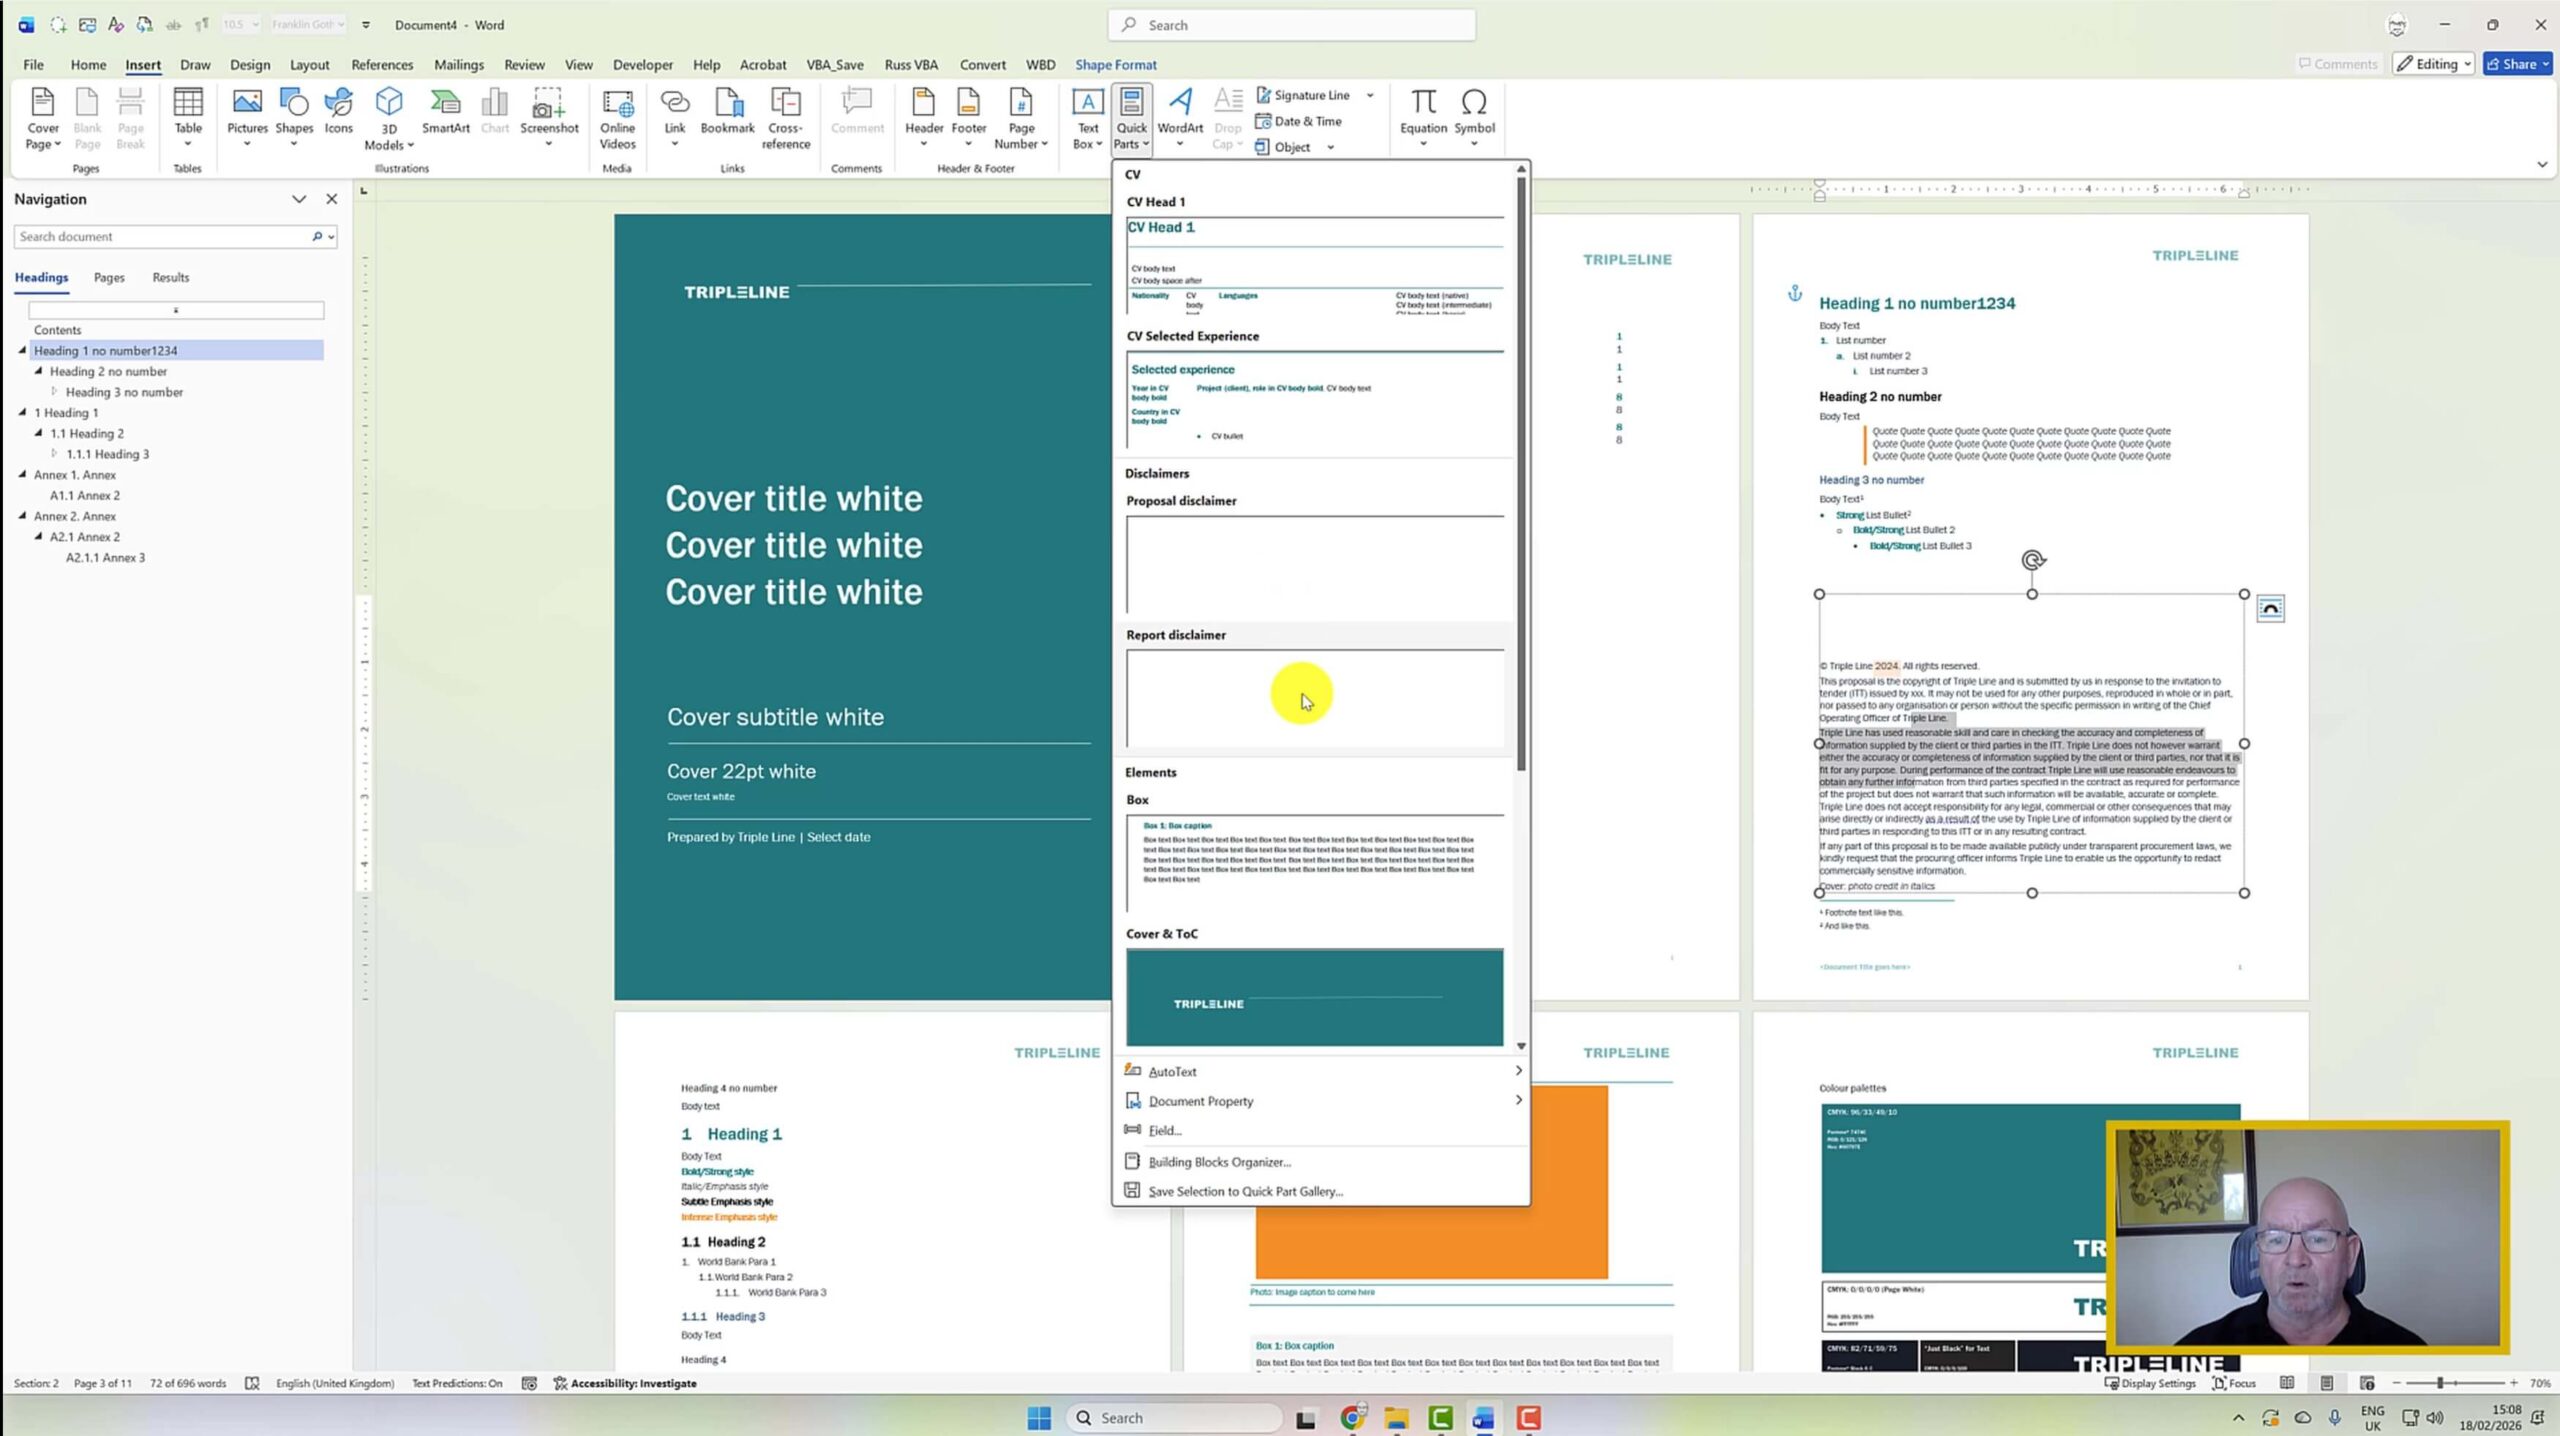
Word Template Structure is Vital to Ease of use
This checklist is something I use when preparing books for clients to ensure every structural element is correct before publication.
If you enable the Styles pane, you’ll see that headings are properly structured: Heading 1, Heading 2, Heading 3, and so on. In Outline View, you can quickly review the hierarchy and confirm that all formatting has been applied consistently using styles rather than manual formatting.
That is essentially how 1-Click Book Creation works.
Because many users prefer not to modify the original Word template directly, I also created separate menu tools within the file.
These assist with formatting and pasting content from an existing manuscript into the structured template. The main margins and core styles are predefined.

Doing Things Differently
As mentioned, I built this in 2014–2015, and if I were to recreate it today, I would approach certain parts of it much differently.
Word has evolved, and so have my own understanding of document systems and automation.
There are also support links included so users know where to find help if they have questions.

And that’s 1-Click Book Creation.
